WHMCS
This page provides comprehensive guides to seamlessly integrate BoomFi's powerful crypto payment capabilities with WHMCS. Enable your customers to pay with cryptocurrency for both one-time purchases and recurring payments, all within your WHMCS platform.
With BoomFi, you can now offer cryptocurrency as a payment option at checkout, alongside traditional payment methods, and unlock the full potential of crypto transactions.
Single-Item Checkout OnlyCurrently, BoomFi's crypto payment option on WHMCS doesn't support multiple-item checkout. The following error message will be presented both to you, and in your customer's invoice:
How to integrate
To fully integrate BoomFi with WHMCS, you need first to follow the steps below.
Step 1: Sign up to BoomFi
First, you need to have a BoomFi Merchant account. You can create an account here. Create an account, and complete the KYB process.
Step 2: Generate an API Key
With access to BoomFi's Dashboard, you need to generate an API Key.
- Go to the Settings section of the Dashboard.
- Navigate to the API Tab.
- Click the + Create API Key button, and give it a descriptive name.
- Copy and save your newly generated key, as it will be used later on this guide.
Step 3: Create Payment Links
You need to create a one-time and recurring payment link to add it to the WHMCS integration. Refer to the Payment Link Creation Guide to learn how to create your payment links.
One-time Payment LinkIts crucial to select the Allow repeat payments without confirmation option when creating the one-time paylink to allow for multiple checkouts.
Step 4: Install BoomFi's Plugin on WHMCS
With BoomFi's Dashboard side configured, you now have to access your WHMCS account and install our plugin.
- Navigate to Apps & Integrations.
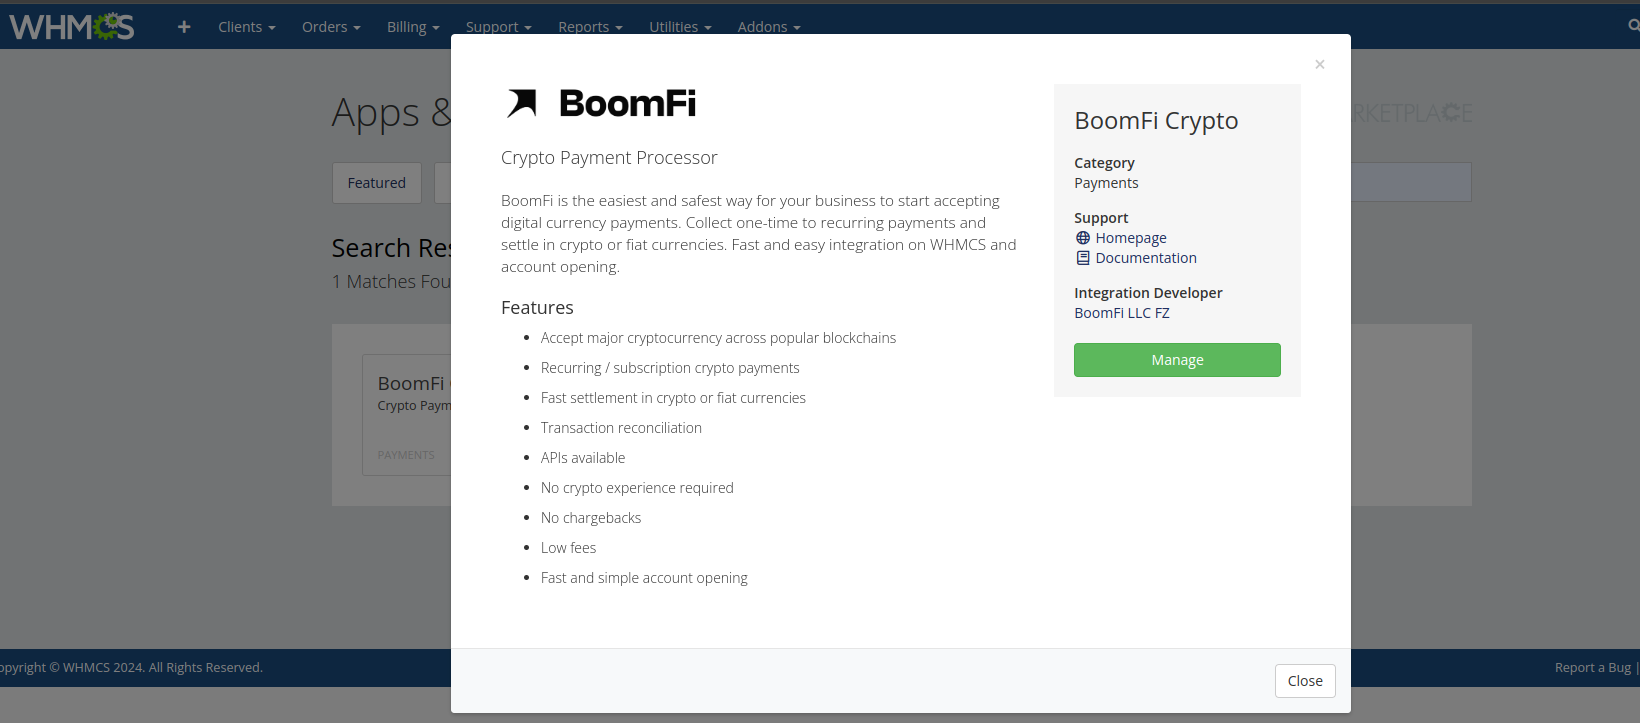
- Search for BoomFi Crypto.

- Select our integration and activate it.

- Fill in and select the required fields:
- Show On Order Form: Select whether to present the BoomFi Crypto payment as a payment option on the checkout.
- Display Name: Enter the name you want the integration to be shown on the checkout form such as "BoomFi Crypto Payment" or "Crypto Payment".
- Test Mode: Toggle whether you're on test mode. See Testing the Integration section.
- One-Time Payment Link: Enter the one-time payment link created in Step 3.
- Recurring Payment Link: Enter the recurring payment link created in Step 3.
- API Key: Paste the API Key created in Step 2.

Testing the Integration
To use test mode in WHMCS, you also need to use test environment paylinks from BoomFi. To have test payment links, you need to generate these pay links in our Test environment dashboard.
Switching to Live Environment
To change to live mode, you need to go back to the BoomFi Crypto configuration screen, presented in Step 4, un-tick the Test Mode option, and change the paylinks for those generated on the Production Environment Dashboard.
Your WHMCS store is now ready to accept real cryptocurrency payments.
Updated 5 months ago
